How to Install Kitchen Cabinet Doors Evenly: A Step-by-Step Guide
- Staff Desk
- Sep 25, 2024
- 4 min read
Updated: Oct 9, 2024
Installing kitchen cabinet doors may seem like a simple task, but doing it evenly requires attention to detail. Uneven cabinet doors can make your kitchen look sloppy, even if the cabinets themselves are beautiful.
In this blog, we'll walk you through the step-by-step process of how to install kitchen cabinet doors evenly, so your kitchen looks neat and professional.
Why Installing Cabinet Doors Evenly Is Important
Before we dive into the installation process, let's take a moment to understand why it’s so important to install your cabinet doors evenly. Uneven doors can:
Affect the overall appearance: Crooked or misaligned doors can ruin the look of an otherwise well-designed kitchen.
Create gaps: If the doors aren’t aligned correctly, gaps between the doors can form, which can make them difficult to close properly.
Reduce functionality: Misaligned doors can lead to uneven wear on hinges, cause doors to swing open or close on their own, and create difficulty in using the cabinets efficiently.
Tools and Materials You'll Need
Before starting, make sure you have all the necessary tools and materials on hand:
Drill or screwdriver: For attaching the hinges to the doors and cabinet frames.
Cabinet door hinges: Choose the type that works best for your cabinet style, such as overlay, inset, or European hinges.
Measuring tape: To ensure precise measurements for door alignment.
Level: To check if your doors are hanging straight.
Pencil: For marking where the hinges should go.
Shims or cardboard: For small adjustments to make sure the doors are level.
Clamp (optional): To hold doors in place while installing.
Screws: Typically, the hinges come with the right screws, but make sure to have extras on hand.
Step-by-Step Guide to Installing Cabinet Doors Evenly
Step 1: Measure the Cabinet Opening
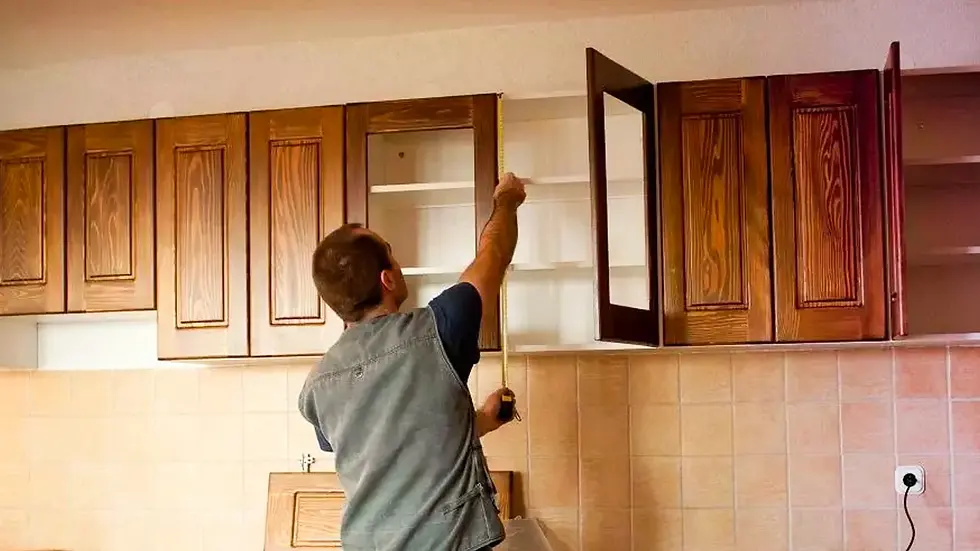
The first step to installing kitchen cabinet doors is getting accurate measurements. Measure the height and width of the cabinet opening to determine the proper placement of the doors.
For single doors: Measure the full width and height of the cabinet frame.
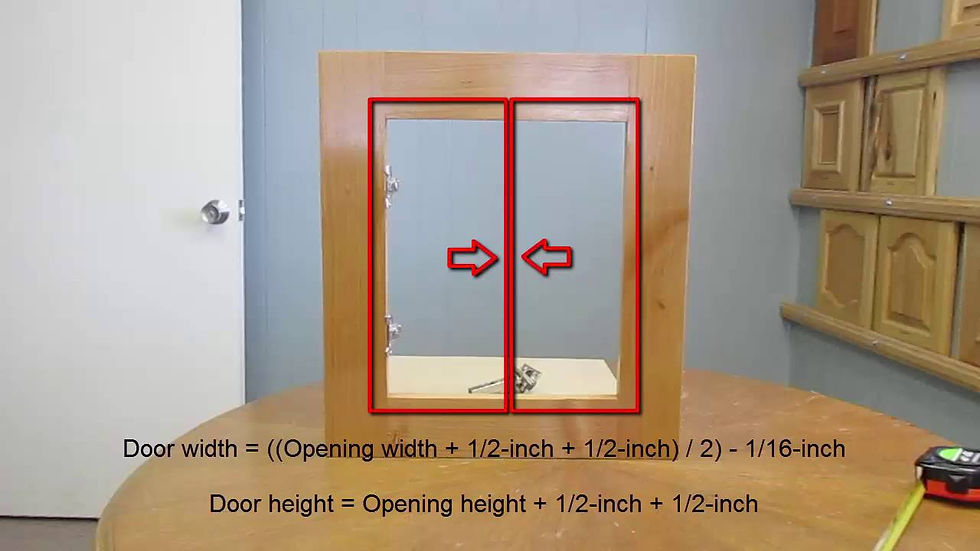
For double doors: Measure the total width, then divide it by two to ensure that each door will fit evenly within the opening. The gap between the two doors should be small and consistent.
Make sure to write down all measurements to avoid mistakes.
Step 2: Mark Hinge Locations on the Cabinet Frame
Now that you have your measurements, it's time to mark where the hinges will be attached to the cabinet frame. Most cabinet doors require two hinges, one at the top and one at the bottom, but taller doors may need a third hinge in the middle for extra support.
Place the top hinge: Measure about 3-5 inches from the top of the cabinet frame and mark it with a pencil. This will be where the top hinge goes.
Place the bottom hinge: Measure about 3-5 inches from the bottom of the cabinet frame and mark the spot for the bottom hinge.
For taller doors: If needed, place a third hinge in the middle of the door to provide extra stability.
Step 3: Attach the Hinges to the Cabinet Doors
Once you’ve marked where the hinges will go on the cabinet frame, it’s time to attach the hinges to the cabinet doors. Be sure to align the hinges properly so they match the hinge locations on the frame.
Position the hinges: Align the hinges along the edge of the door at the spots where you measured for the cabinet frame. Make sure the hinge is straight and flush with the edge of the door.
Drill pilot holes: If needed, use a drill to make small pilot holes where the screws will go. This helps prevent the wood from splitting.
Screw in the hinges: Attach the hinges to the door using screws. Make sure they’re secure but avoid over-tightening, which could damage the wood.
Step 4: Align and Attach the Doors to the Cabinet Frame
Now that the hinges are attached to the doors, it’s time to fix them to the cabinet frame.
Position the door: Hold the door in position next to the cabinet frame, aligning the hinges with the marks you made earlier.
Check for gaps: Before attaching the hinges, make sure there’s a small, even gap (usually about 1/8 inch) between the top and bottom of the door and the cabinet frame.
Clamp the door (optional): If you're working alone, using a clamp to hold the door in place while you attach the hinges can make things easier.
Attach the hinges to the frame: Use screws to attach the hinges to the marked spots on the cabinet frame. Again, avoid over-tightening to prevent damage.
Step 5: Adjust and Level the Doors
Once the doors are attached, they may need some adjustments to make sure they hang evenly.
Check the level: Use a level to check if the door is straight. If it’s not, loosen the screws slightly and adjust the door until it’s level, then retighten the screws.
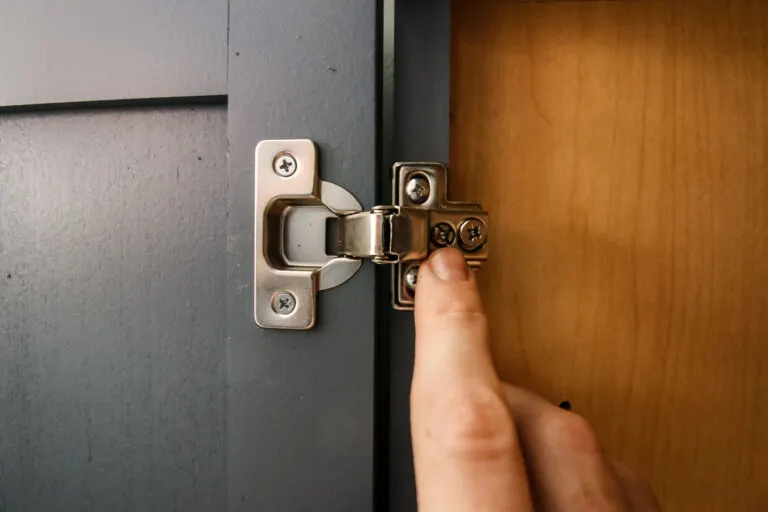
Adjust the hinges: Some hinges, especially European hinges, allow for small adjustments. You can move the door up, down, left, or right using the adjustment screws on the hinge. This is useful for fine-tuning the door alignment.
Use shims or cardboard: If the doors are still uneven, you can use small shims or pieces of cardboard behind the hinge plate to make fine adjustments. Insert the shim behind the hinge on the cabinet frame to raise or lower one side of the door slightly.
Step 6: Install the Handles or Knobs
With the doors evenly hung, the final step is to install the door handles or knobs.
Mark the placement: Measure and mark where the handles or knobs should be installed. The placement is usually about 2-3 inches from the edge of the door, but this can vary based on your personal preference or the design of the cabinet.
Drill holes: Drill small holes where you’ve marked the placement of the handles or knobs.
Attach the handles: Screw the handles or knobs into place, making sure they’re secure.
Step 7: Test the Doors
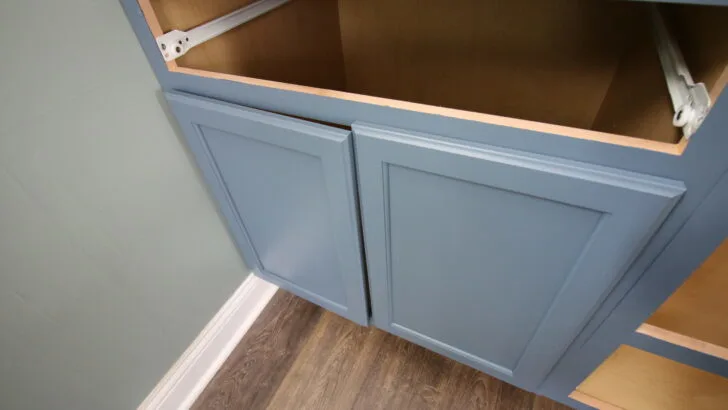
Finally, test the doors to make sure they open and close smoothly. Check that they’re even, that the gaps between the doors and the cabinet frame are consistent, and that there’s no rubbing or sticking when the doors move.
If any adjustments are needed, revisit the hinges and make minor corrections as needed.


